

Is Installation of an LED Bluetooth Mirror a Seamless and DIY-Friendly Process?
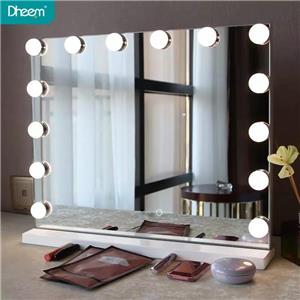
LED Bluetooth mirrors have gained popularity in recent years due to their sleek design and innovative features. These mirrors not only provide excellent lighting for grooming and applying makeup, but they also allow users to connect their devices via Bluetooth for added convenience. However, many potential buyers may wonder if the installation process is seamless and DIY-friendly. In this article, we will explore the steps involved in installing an LED Bluetooth mirror and determine whether it is a suitable project for DIY enthusiasts.
Assessing the Installation Area:
Before starting the installation, it is crucial to select an appropriate location for your LED Bluetooth mirror. Consider factors such as electrical outlets, wall space, and the proximity to the bathroom vanity. Ensure that the chosen area allows for easy access to power sources, as the mirror requires electricity to operate the LED lights and Bluetooth connectivity.
Preparing the Tools:
Gather the necessary tools for the installation, including a power drill, tape measure, level, screws, and a screwdriver. It’s essential to have all the tools readily available to ensure a smooth and efficient installation process.
Fixing the Mounting Bracket:
Many LED Bluetooth mirrors come with a mounting bracket that needs to be attached to the wall. Carefully mark the desired position, making sure it is parallel to the floor and at an appropriate height. Once marked, use a power drill to attach the mounting bracket securely to the wall. Ensure that it is level and firmly fixed in place.
Electrical Connection:
Before connecting the mirror to the power source, it is critical to turn off the electricity supply in the respective area. Follow the manufacturer’s instructions to connect the mirror’s power cord to a suitable electrical outlet. If you are unsure about the electrical wiring, it is advisable to consult a professional electrician.
Mounting the Mirror:
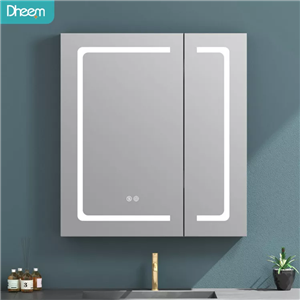
Once the mounting bracket and electrical connections are in place, carefully lift the LED Bluetooth mirror and hang it on the bracket. Make sure the mirror is mounted securely and aligned correctly with the mounting bracket.
Testing and Customizing Settings:
After the installation is complete, turn on the power supply and test the LED lights and Bluetooth connectivity of the mirror. Follow the manufacturer’s instructions to pair your device with the mirror and explore the various customization options available. Adjust the brightness, color temperature, and other settings according to your preferences.
Installing an LED Bluetooth mirror can be a seamless and DIY-friendly process if you follow the necessary steps and have basic handyman skills. While it is essential to ensure the mirror is securely mounted and the electrical connections are done correctly, most installations can be completed without professional assistance. However, if you are unsure about any aspect of the installation, consulting a professional is always recommended. With the right tools and careful attention to detail, you can enjoy the convenience and style of an LED Bluetooth mirror in your home.